This shop has been compensated by Collective Bias and its advertiser. All opinions are mine alone. #TrickOrSweet #CollectiveBias
With Halloween right around the corner and Trevor and I living in the city we always struggle with how to hand out candy. We want to participate with the kids in the building but don’t necessarily want to be home either. This DIY pumpkin tutorial is the perfect solution and so fun to create!
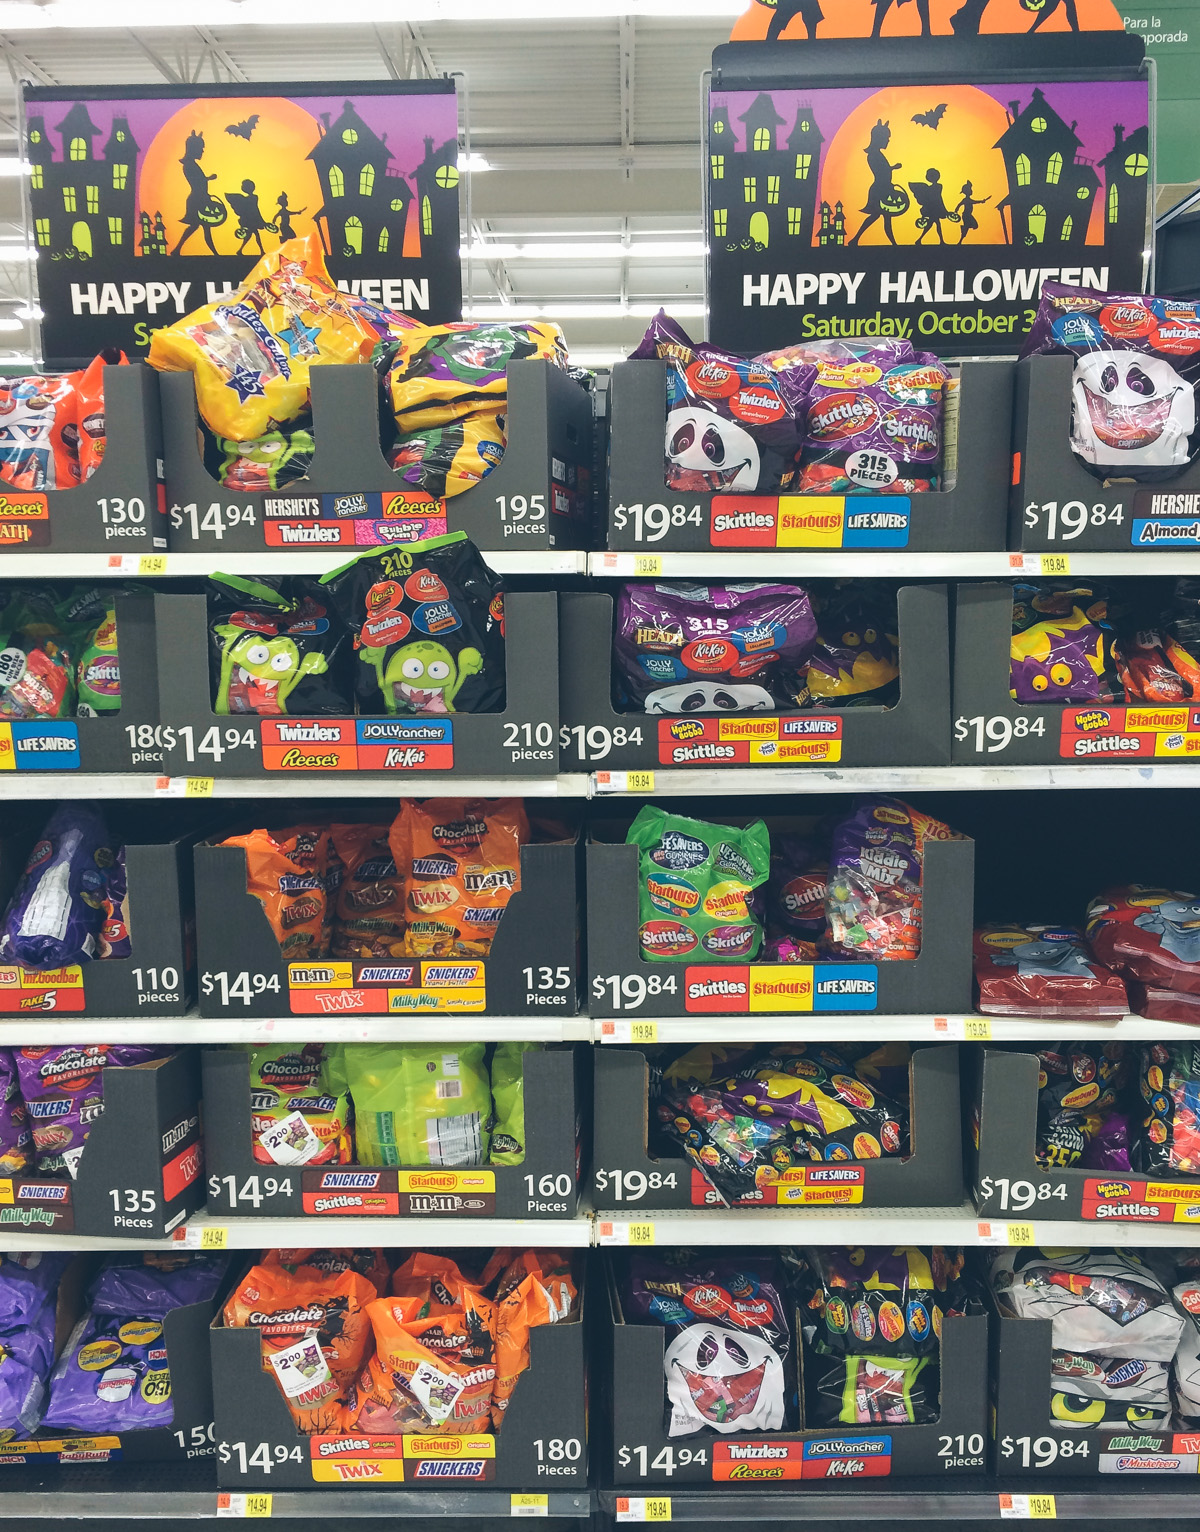
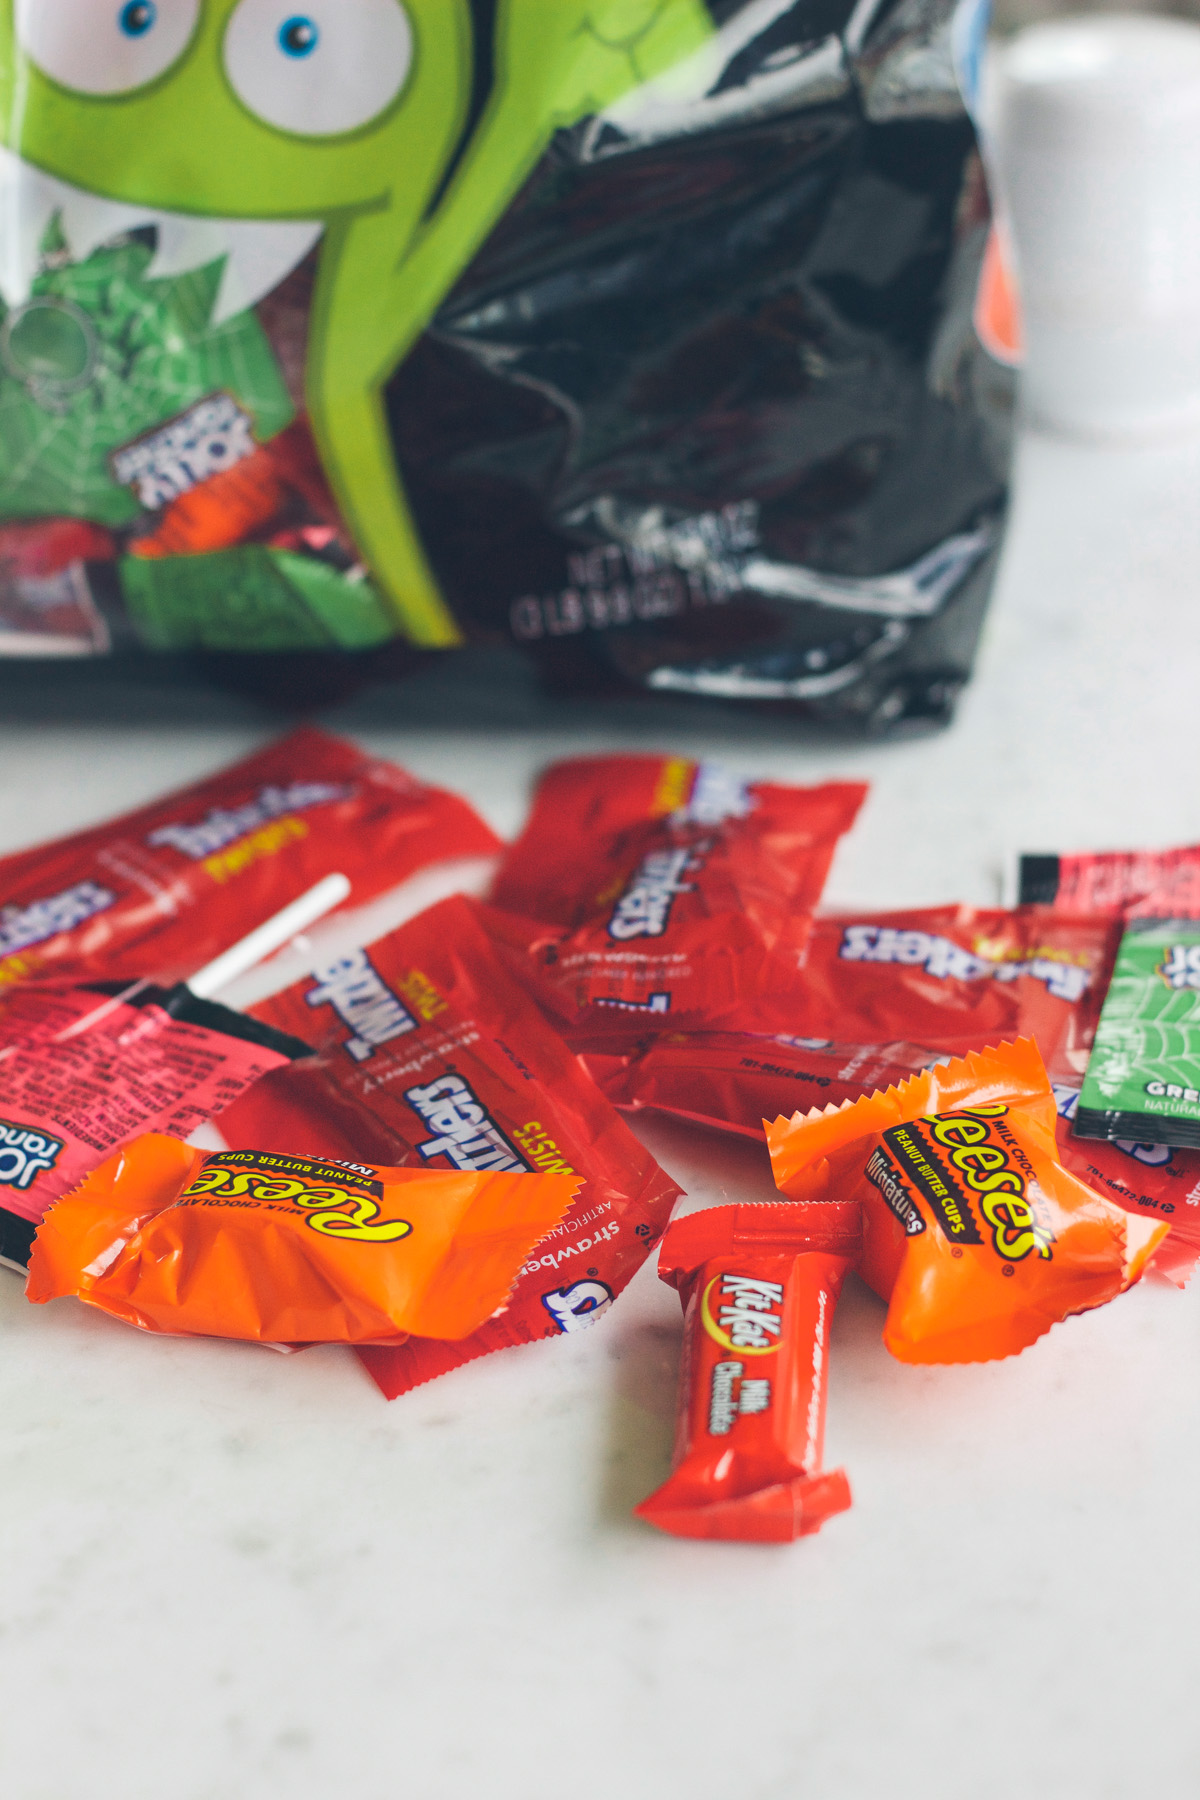
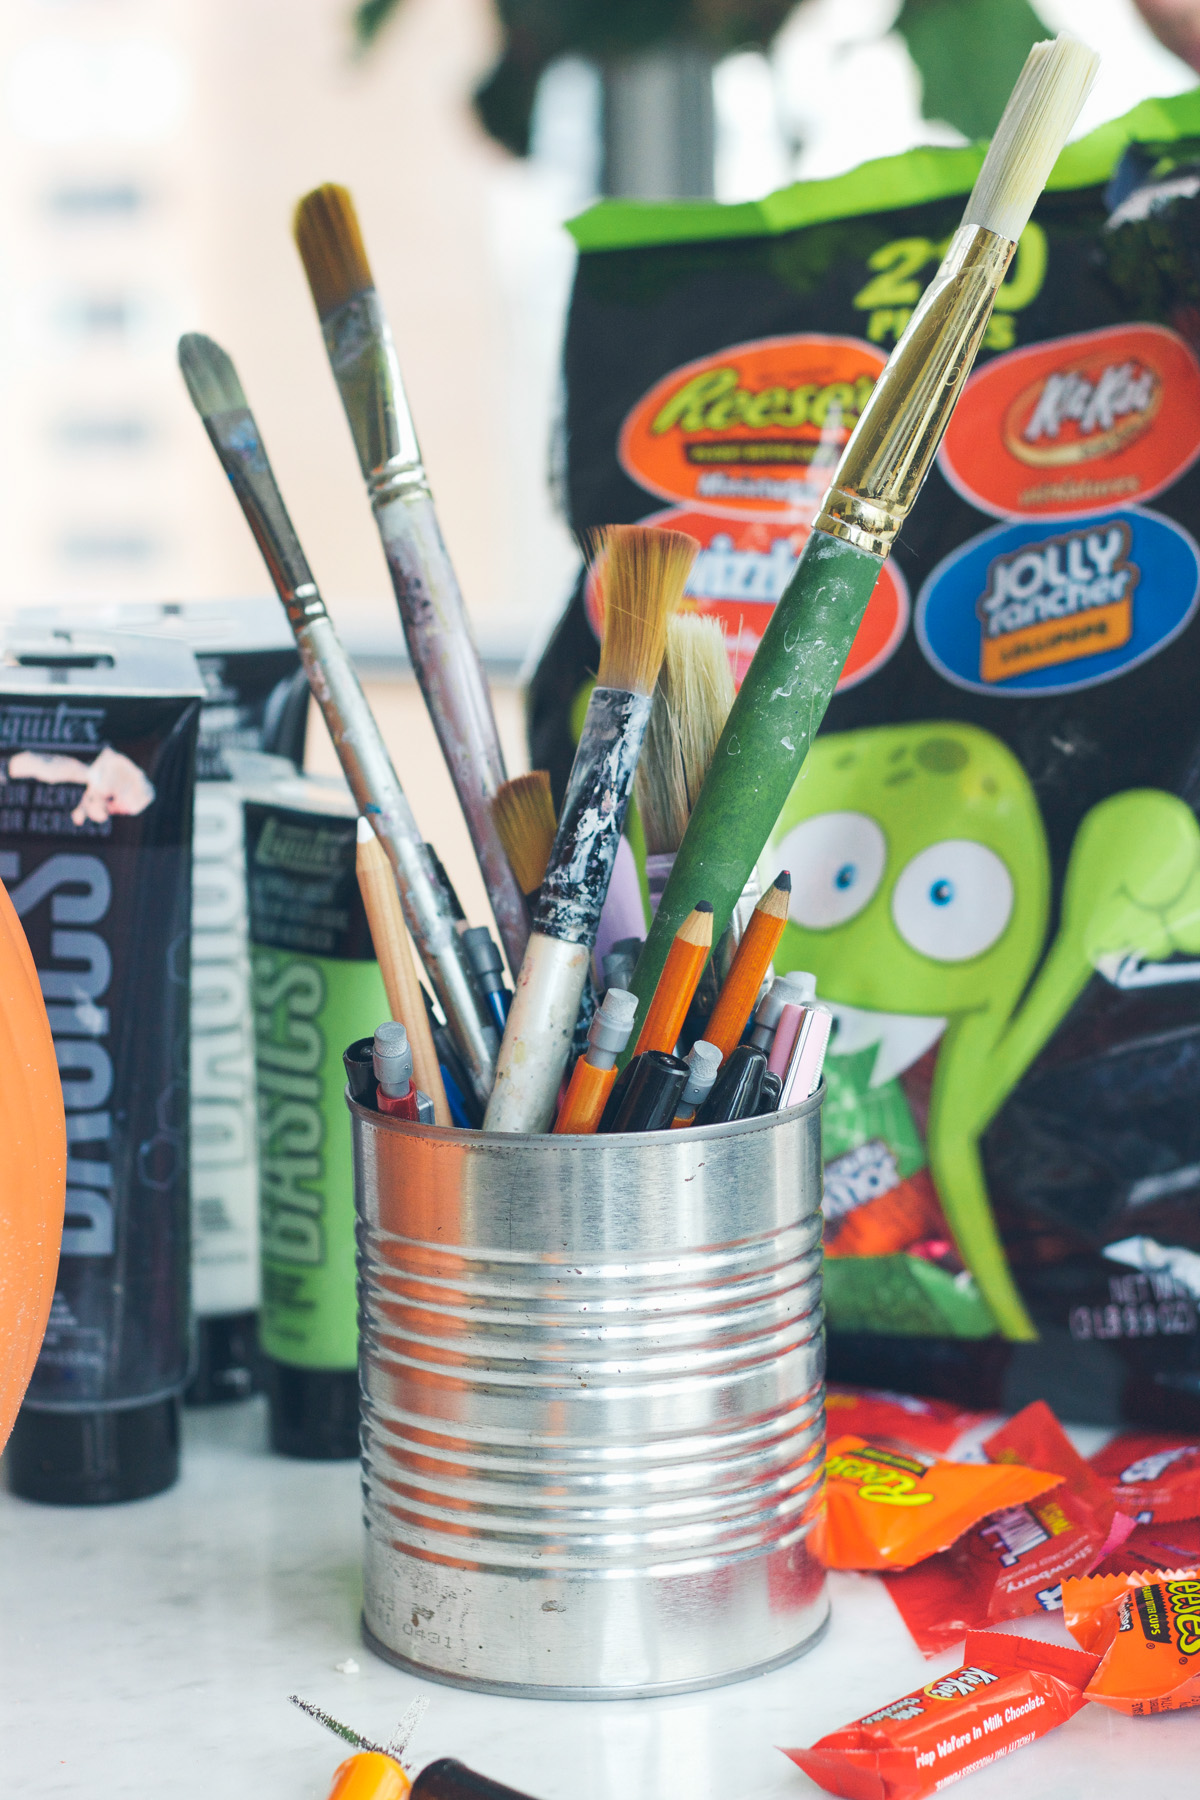
I was excited to find these giant bags of Hershey’s candy at Walmart that was perfect to fill my DIY pumpkin and leave on our doorstep for kids to pick from all night. It’s so easy to get a variety of chocolates so I can make all the kids (and my husband) happy! This year they have new Reese cups that say ‘boo’ on them and I’m kind of obsessed y’all.
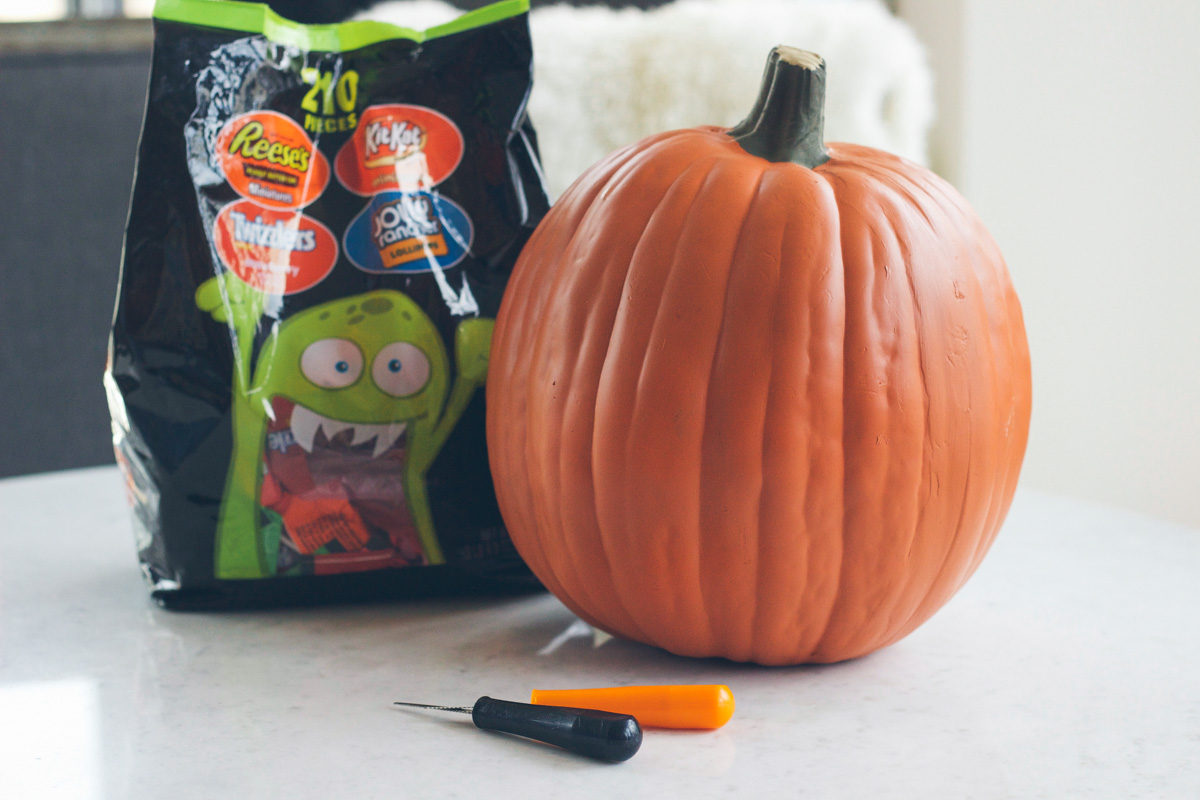
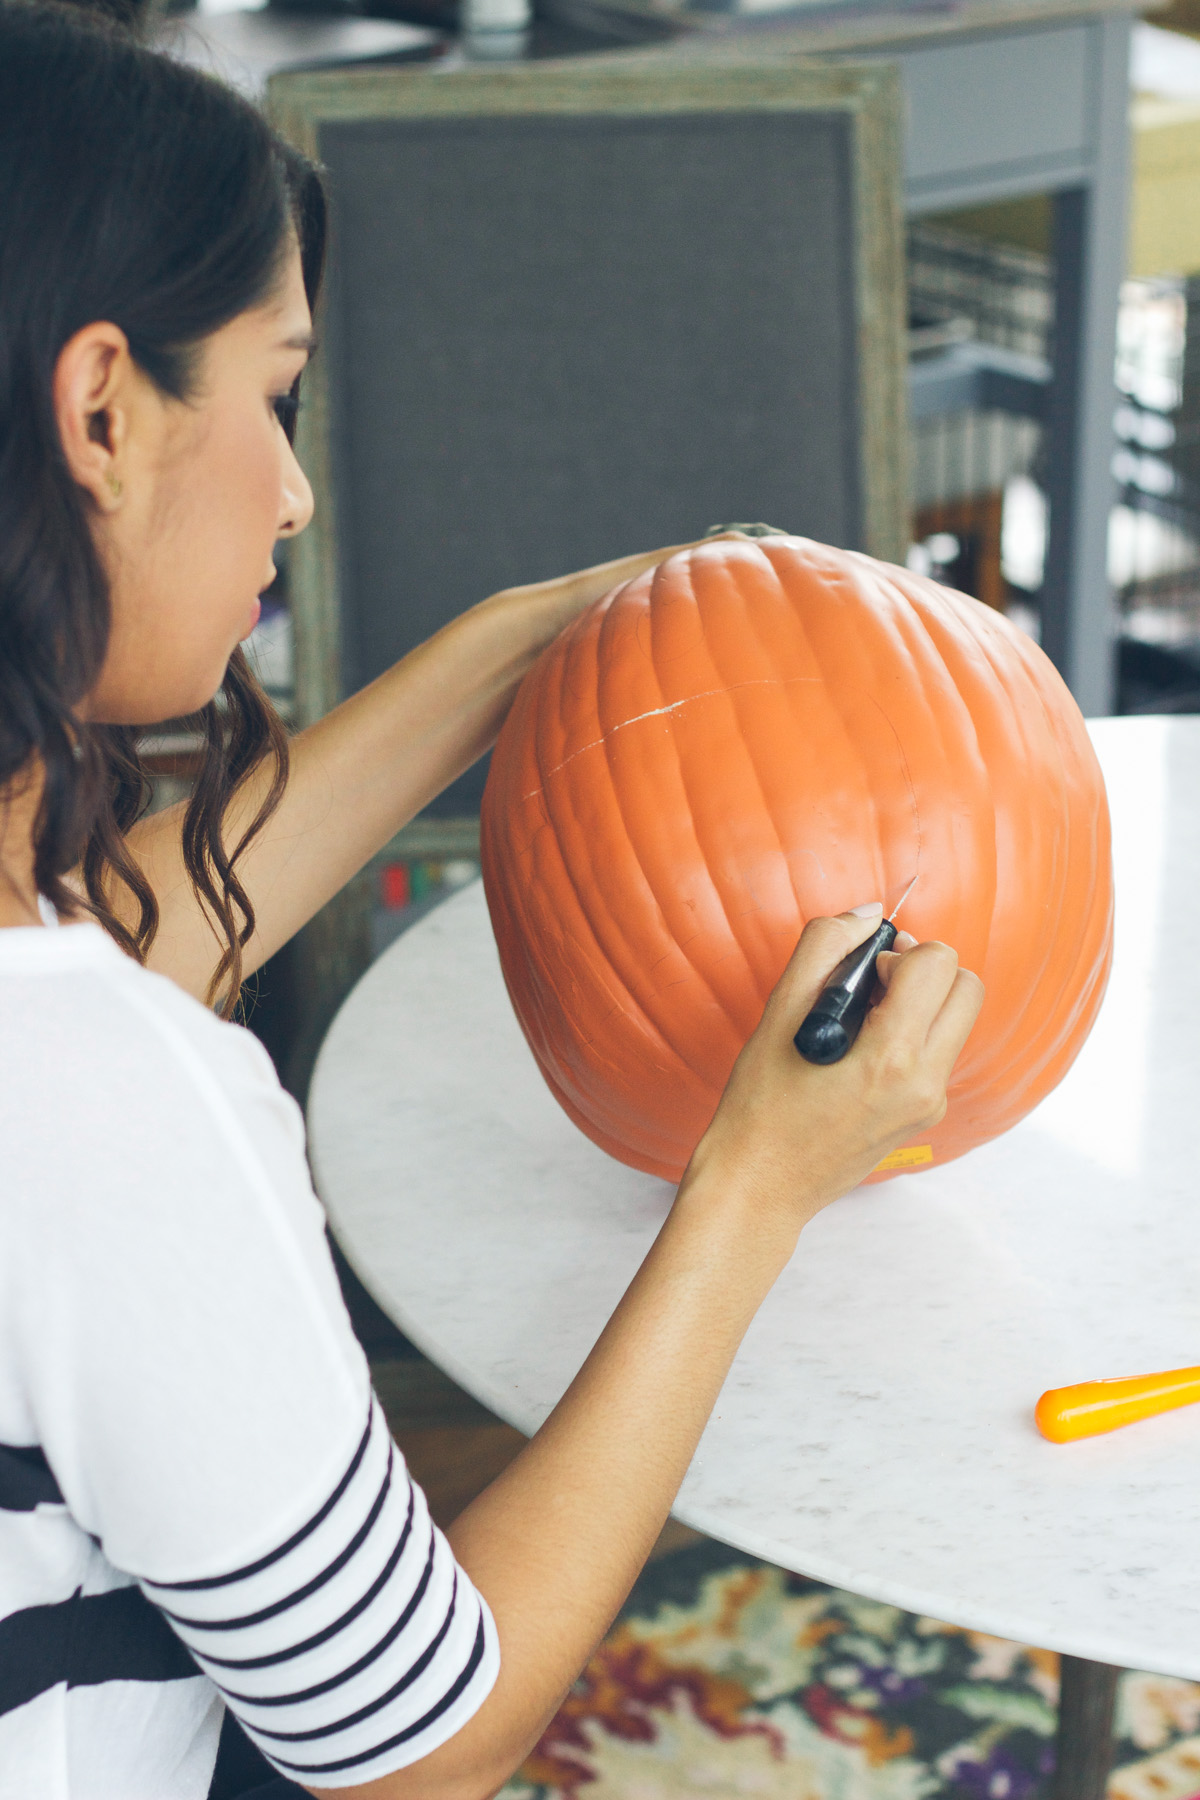
Make sure to grab a craft hollow pumpkin and a crafting knife that’s serrated. You can choose your theme and what colors you want to cover these with acrylic paint. It’s fun to tape off different faces and get creative and is the perfect activity to do with friends or family! It’s so much less mess than real pumpkins and no hassle to clean up.
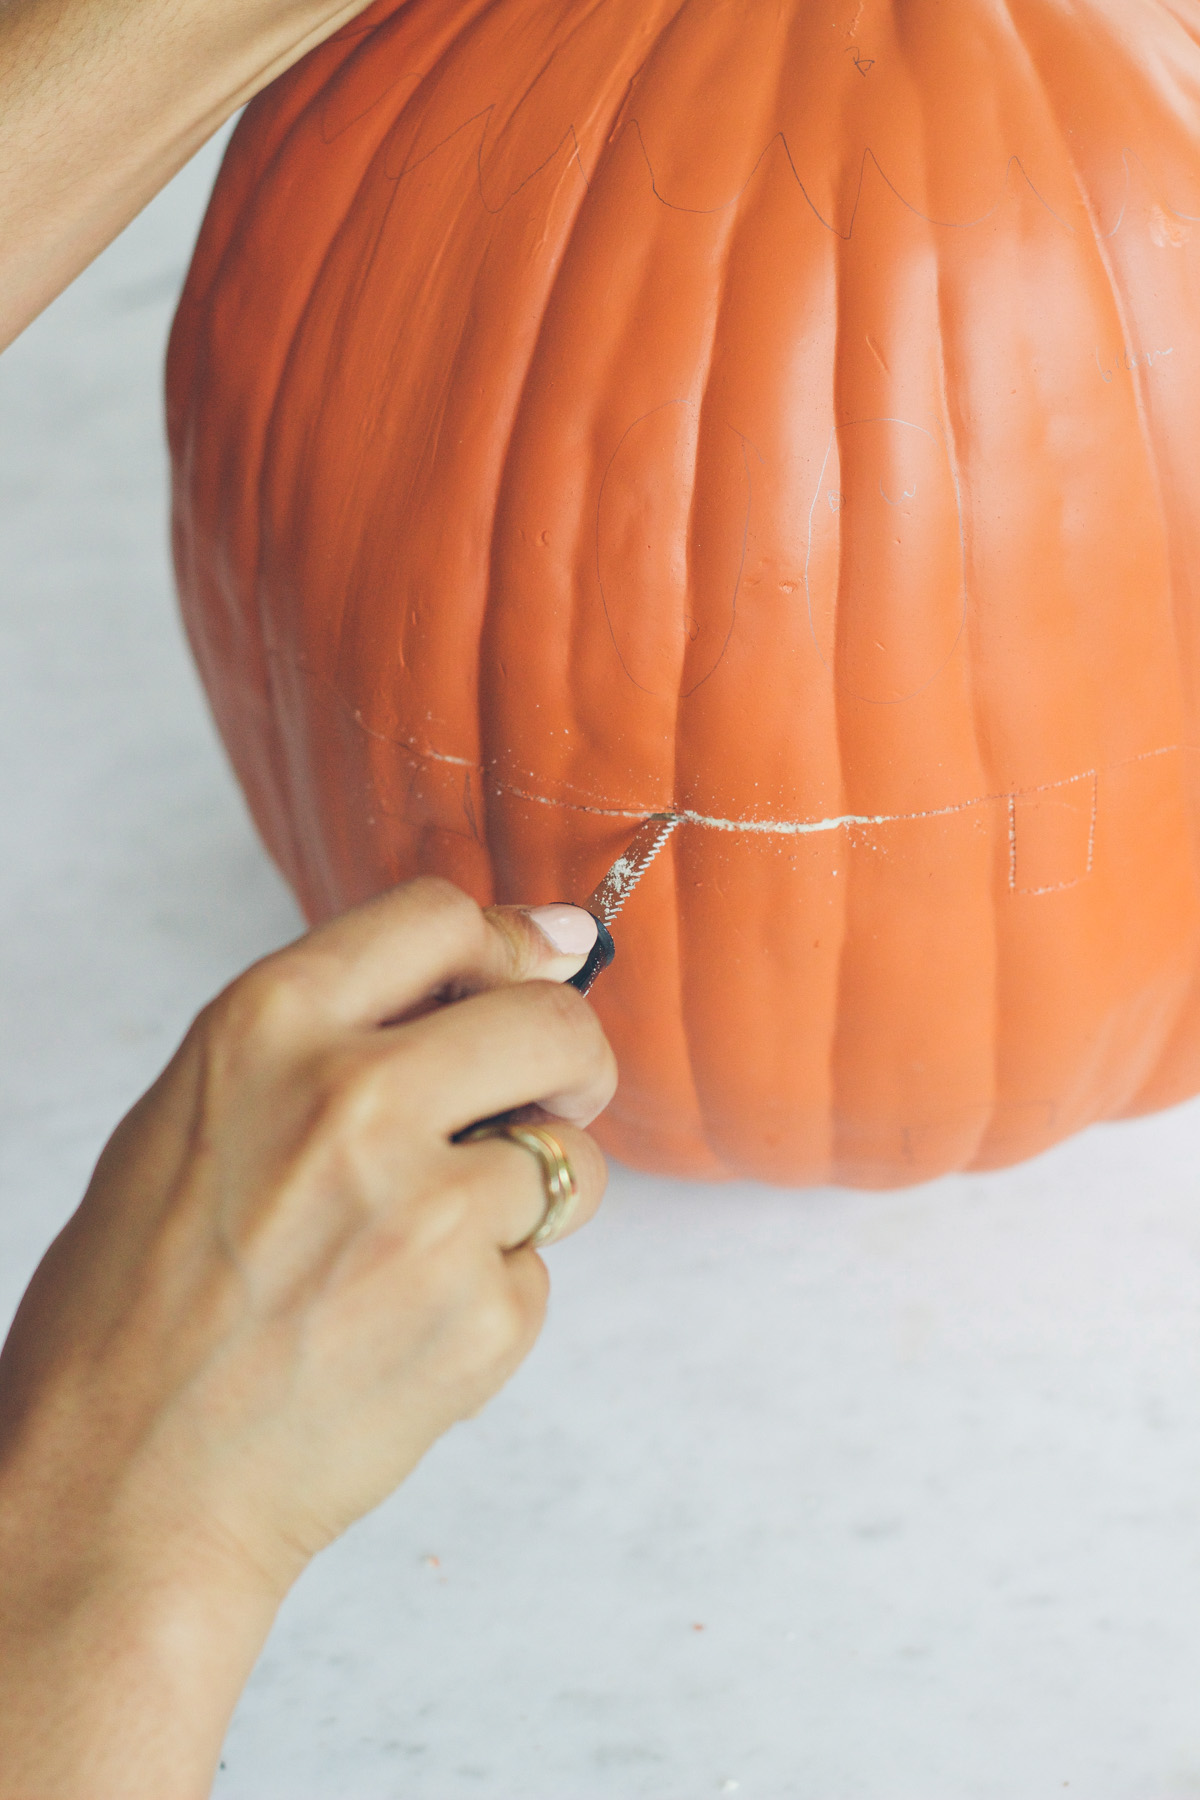
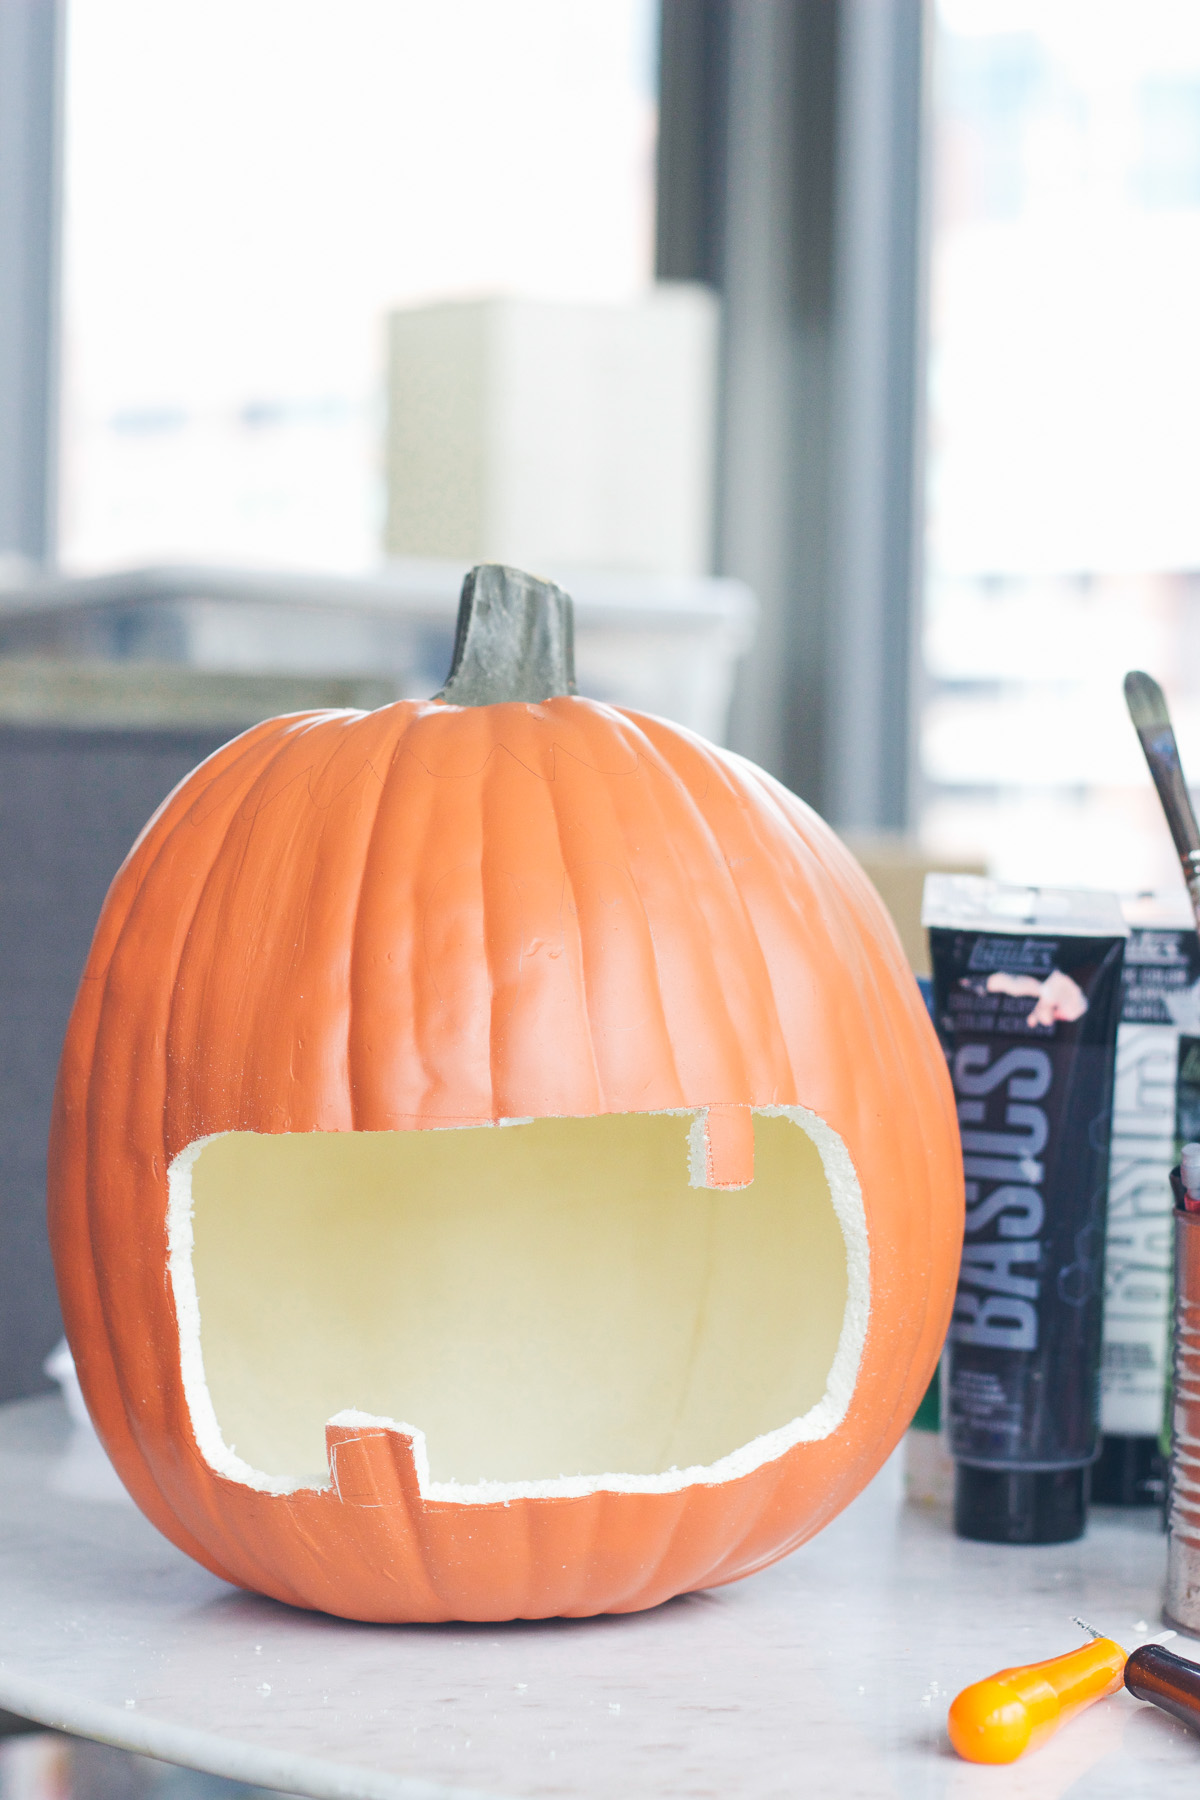
- Place washii tape on where you would like the mouth to be or mark with pencil – make sure to create a large enough opening for people to be able to stick their hand into.
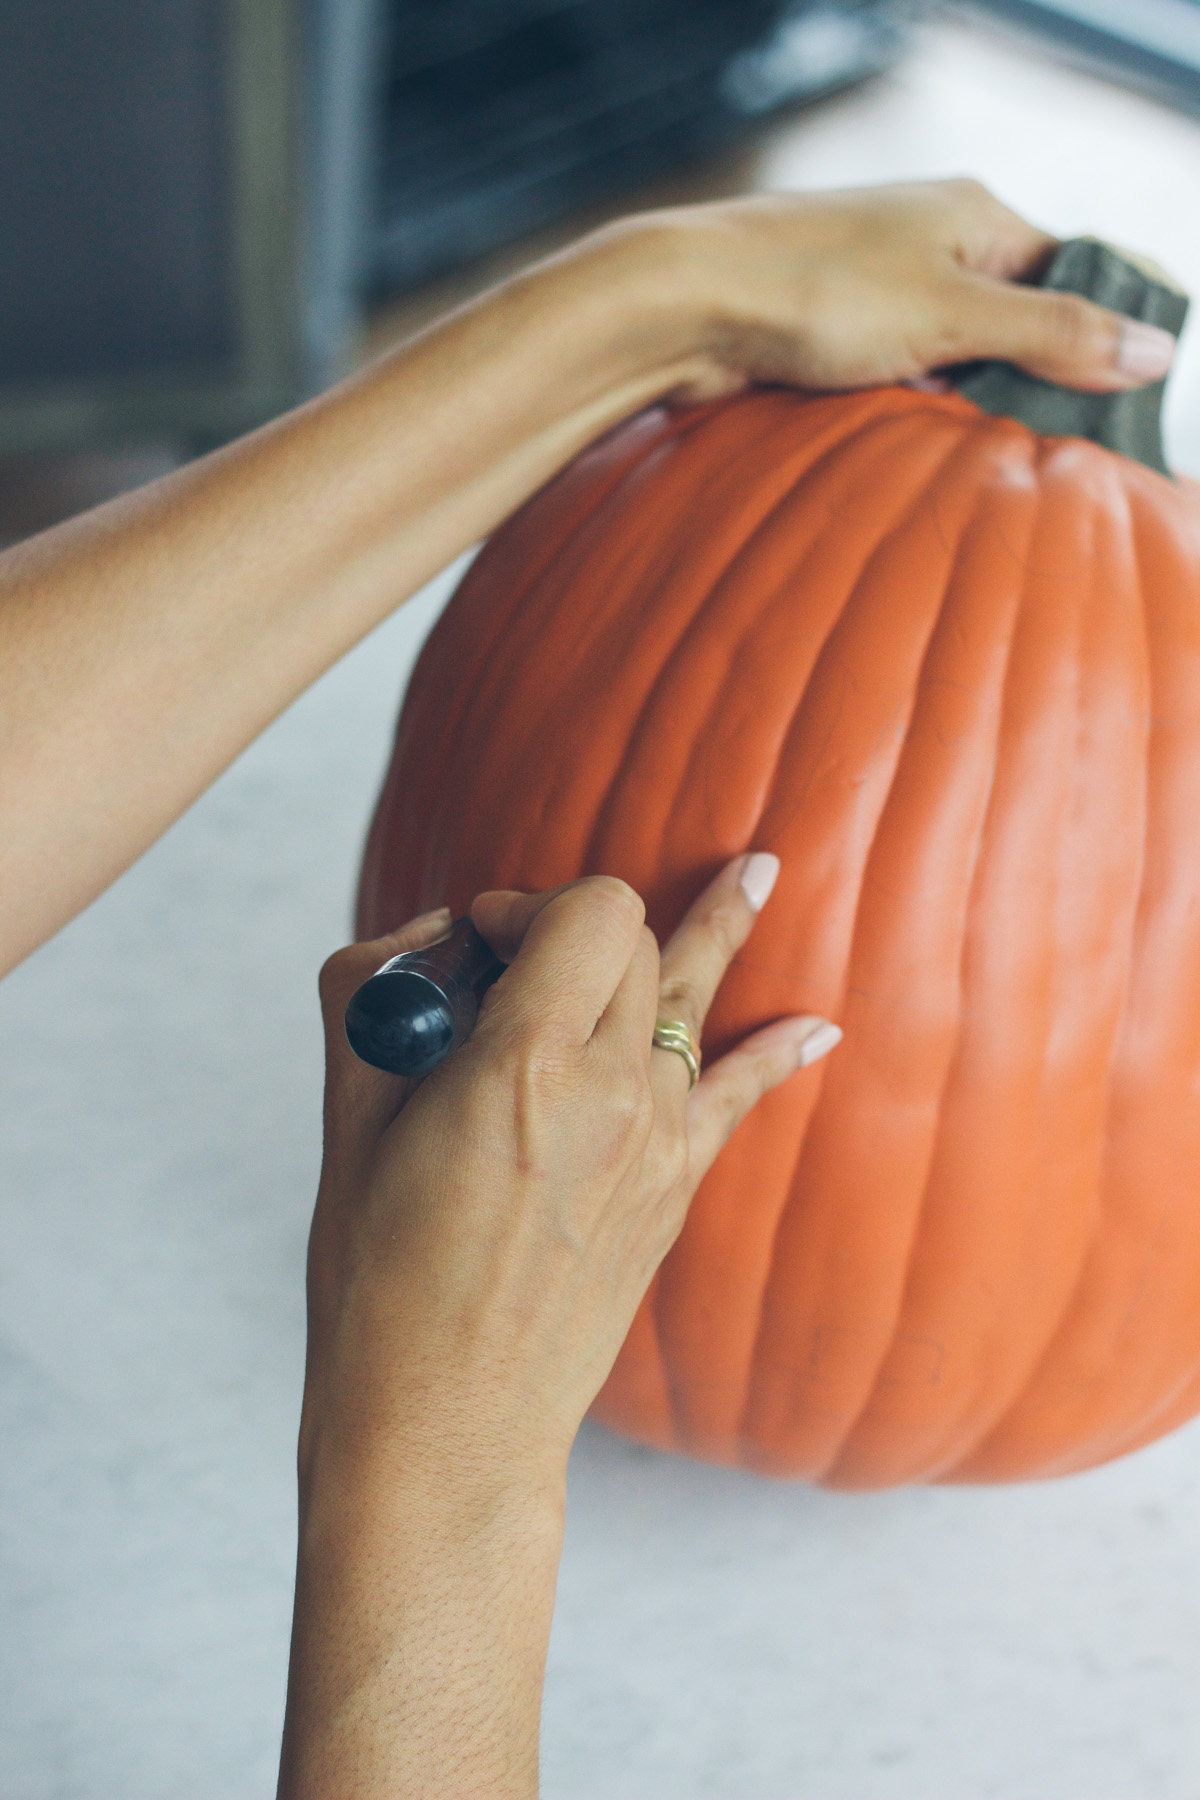 2. Carve out those areas carefully and smooth edges
 3. Paint the base of the pumpkin and let dry
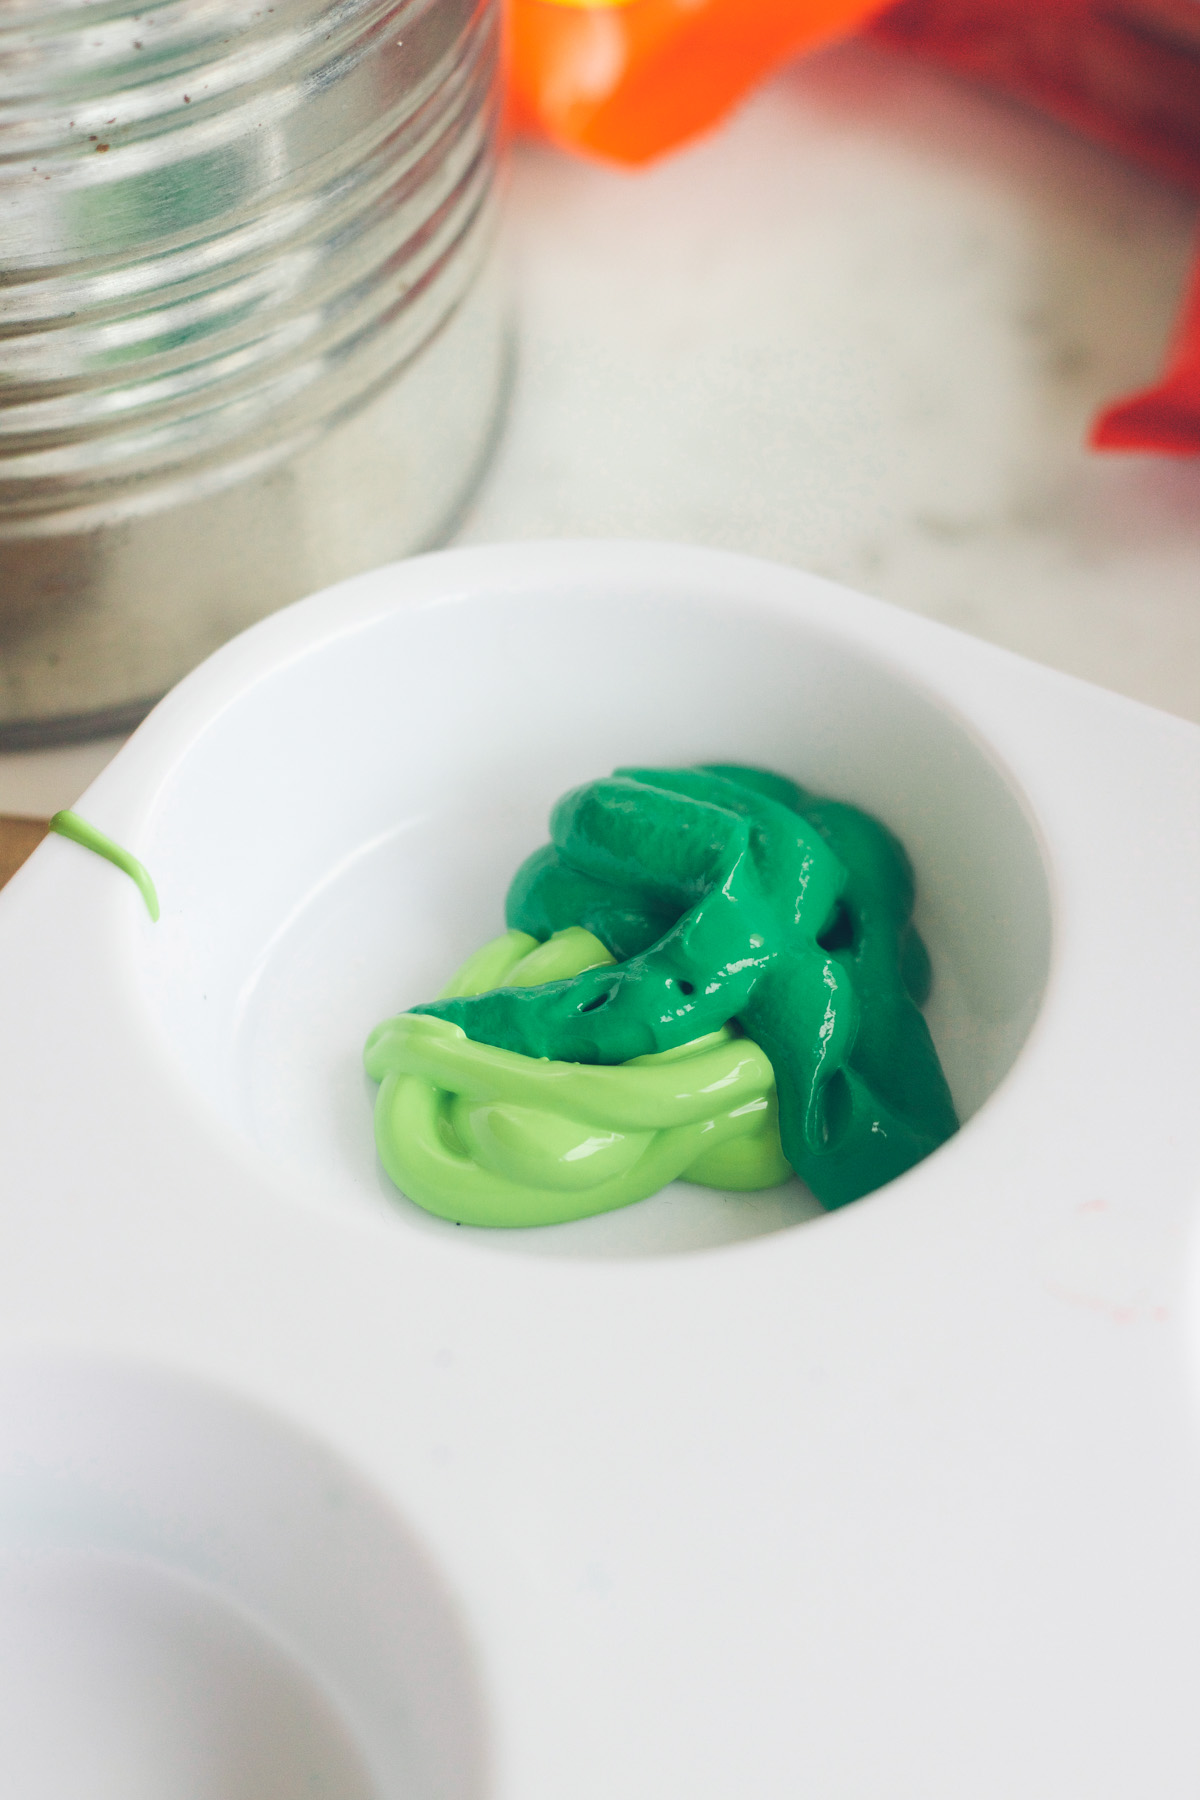
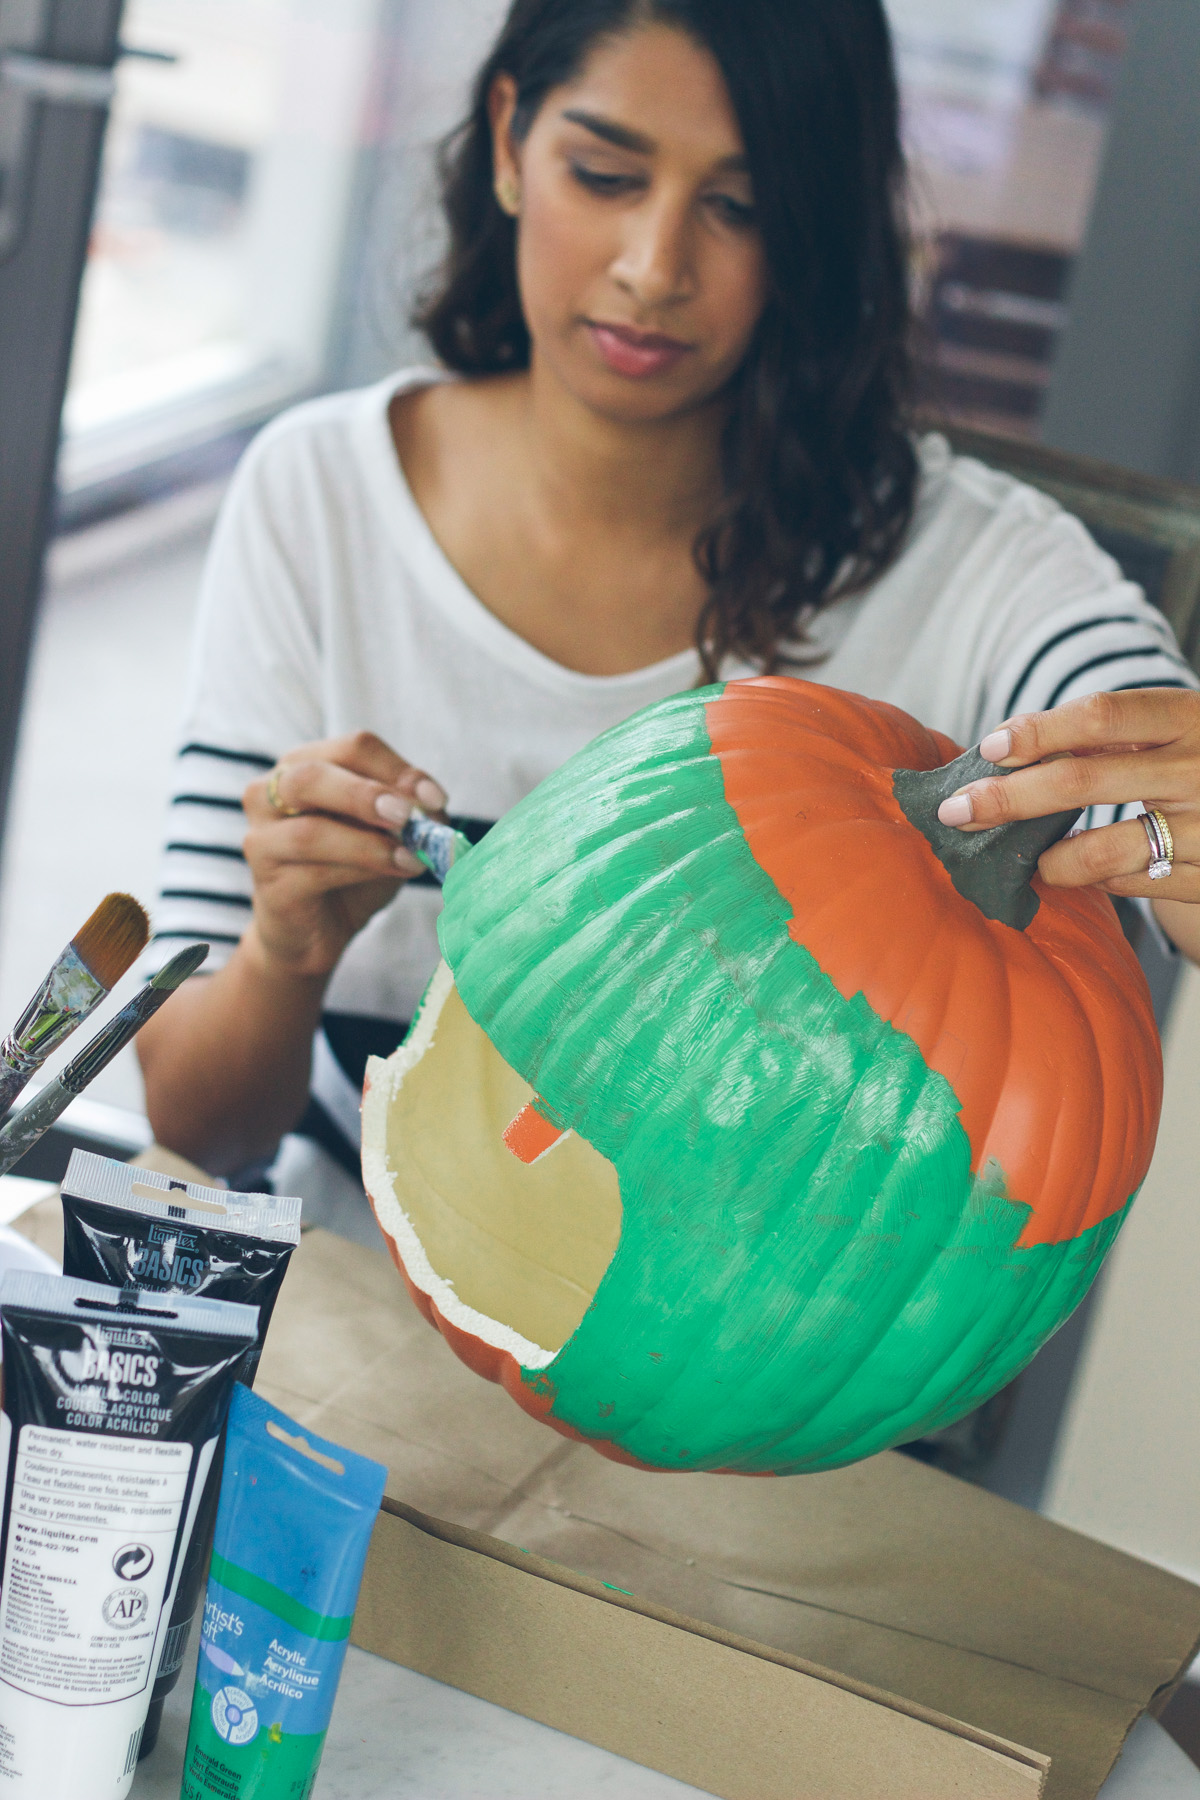 4. Once dry pencil in teeth, eyes & any other details you like
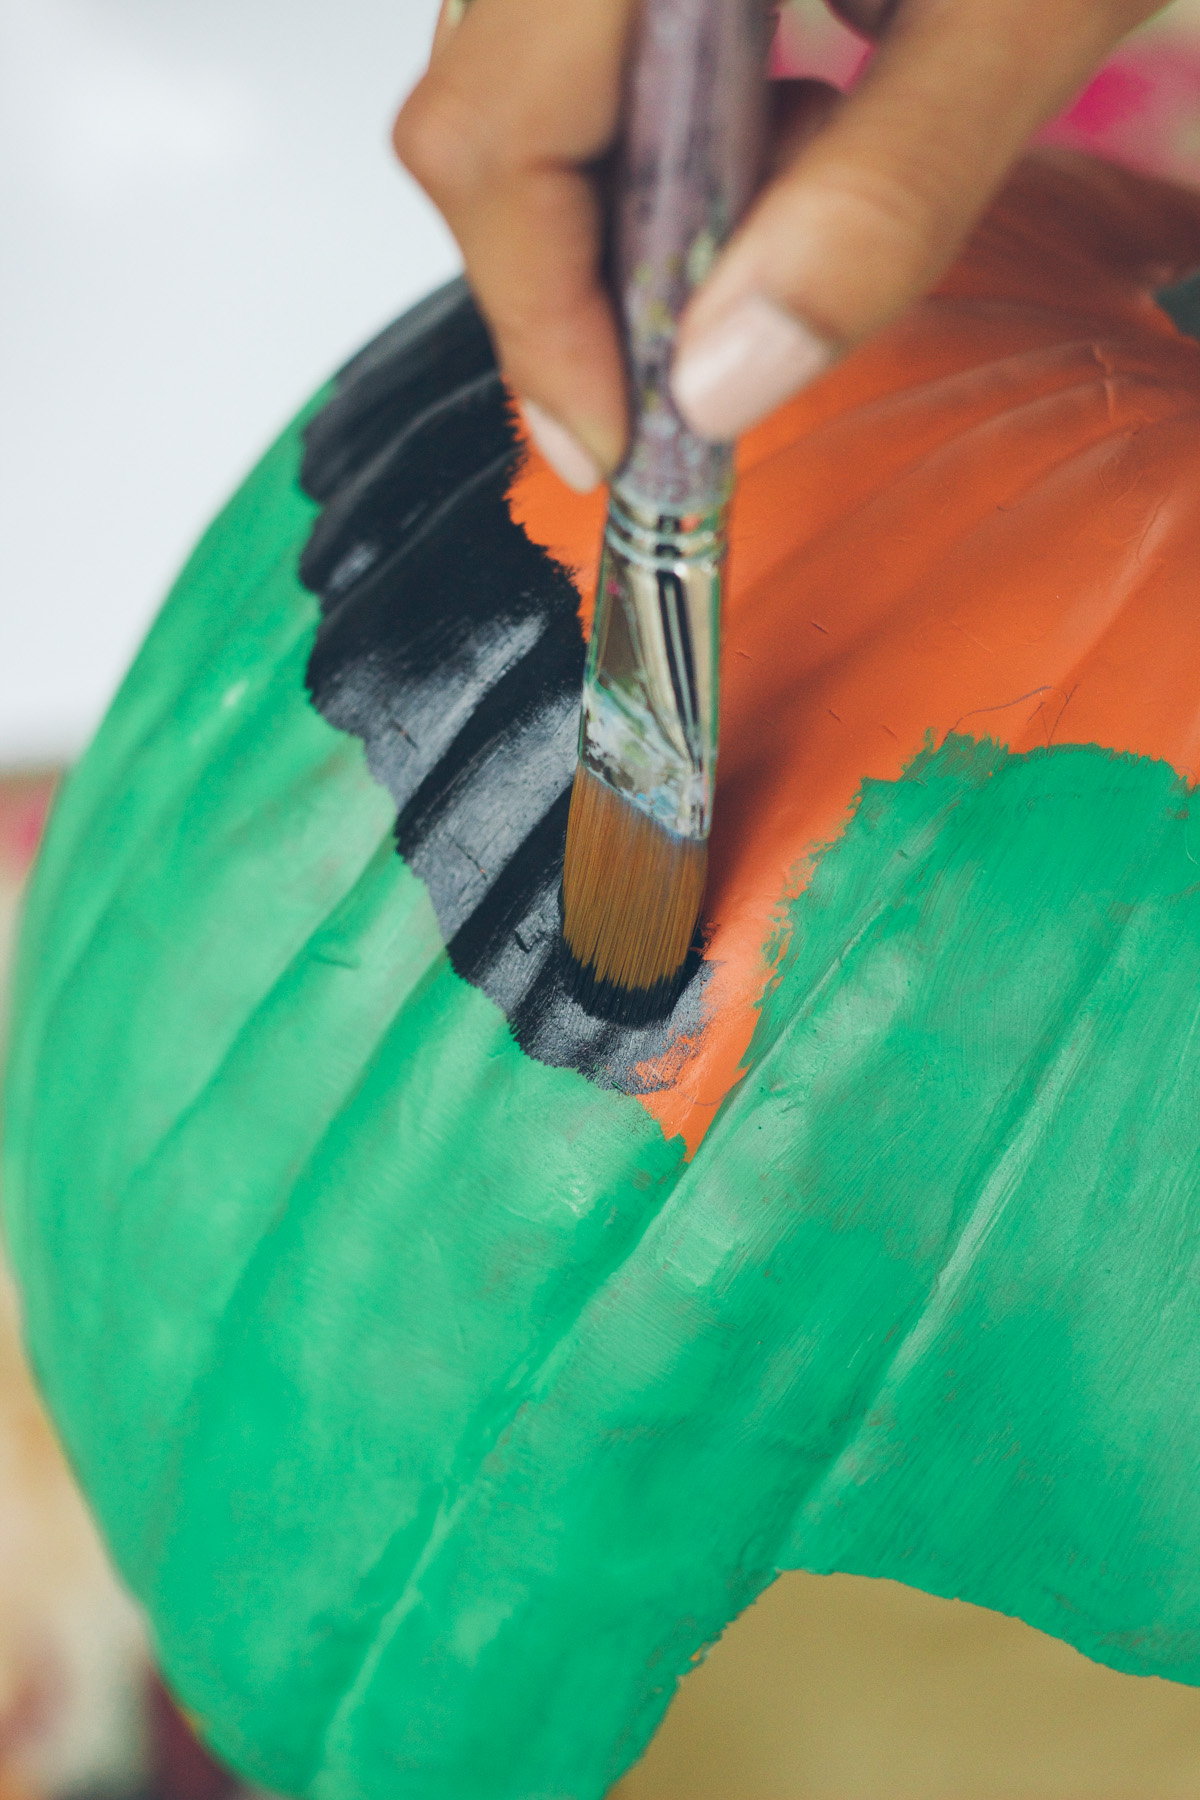
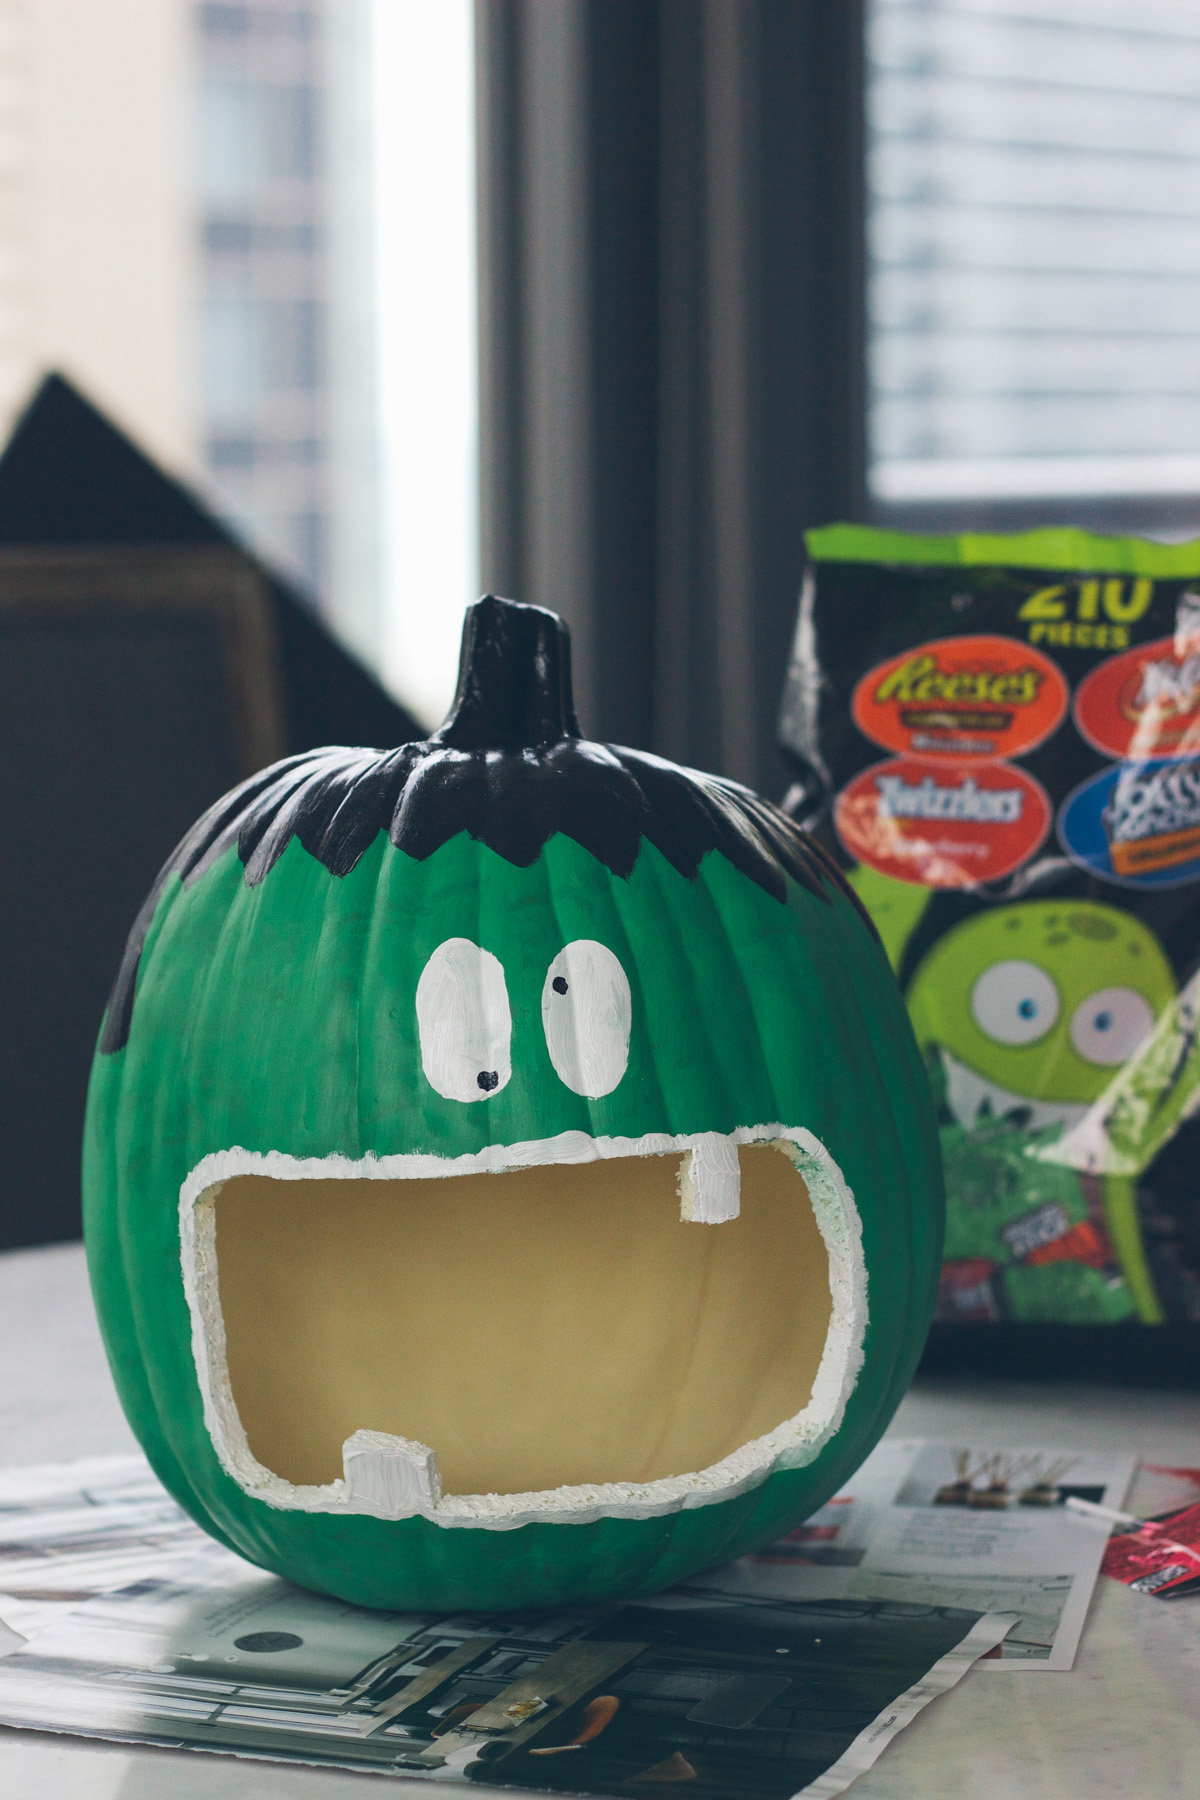 5. Paint in your details and let dry
6. Once everything is dry just throw in your Hershey’s Halloween candy – each bag will fill about 2 large pumpkins!
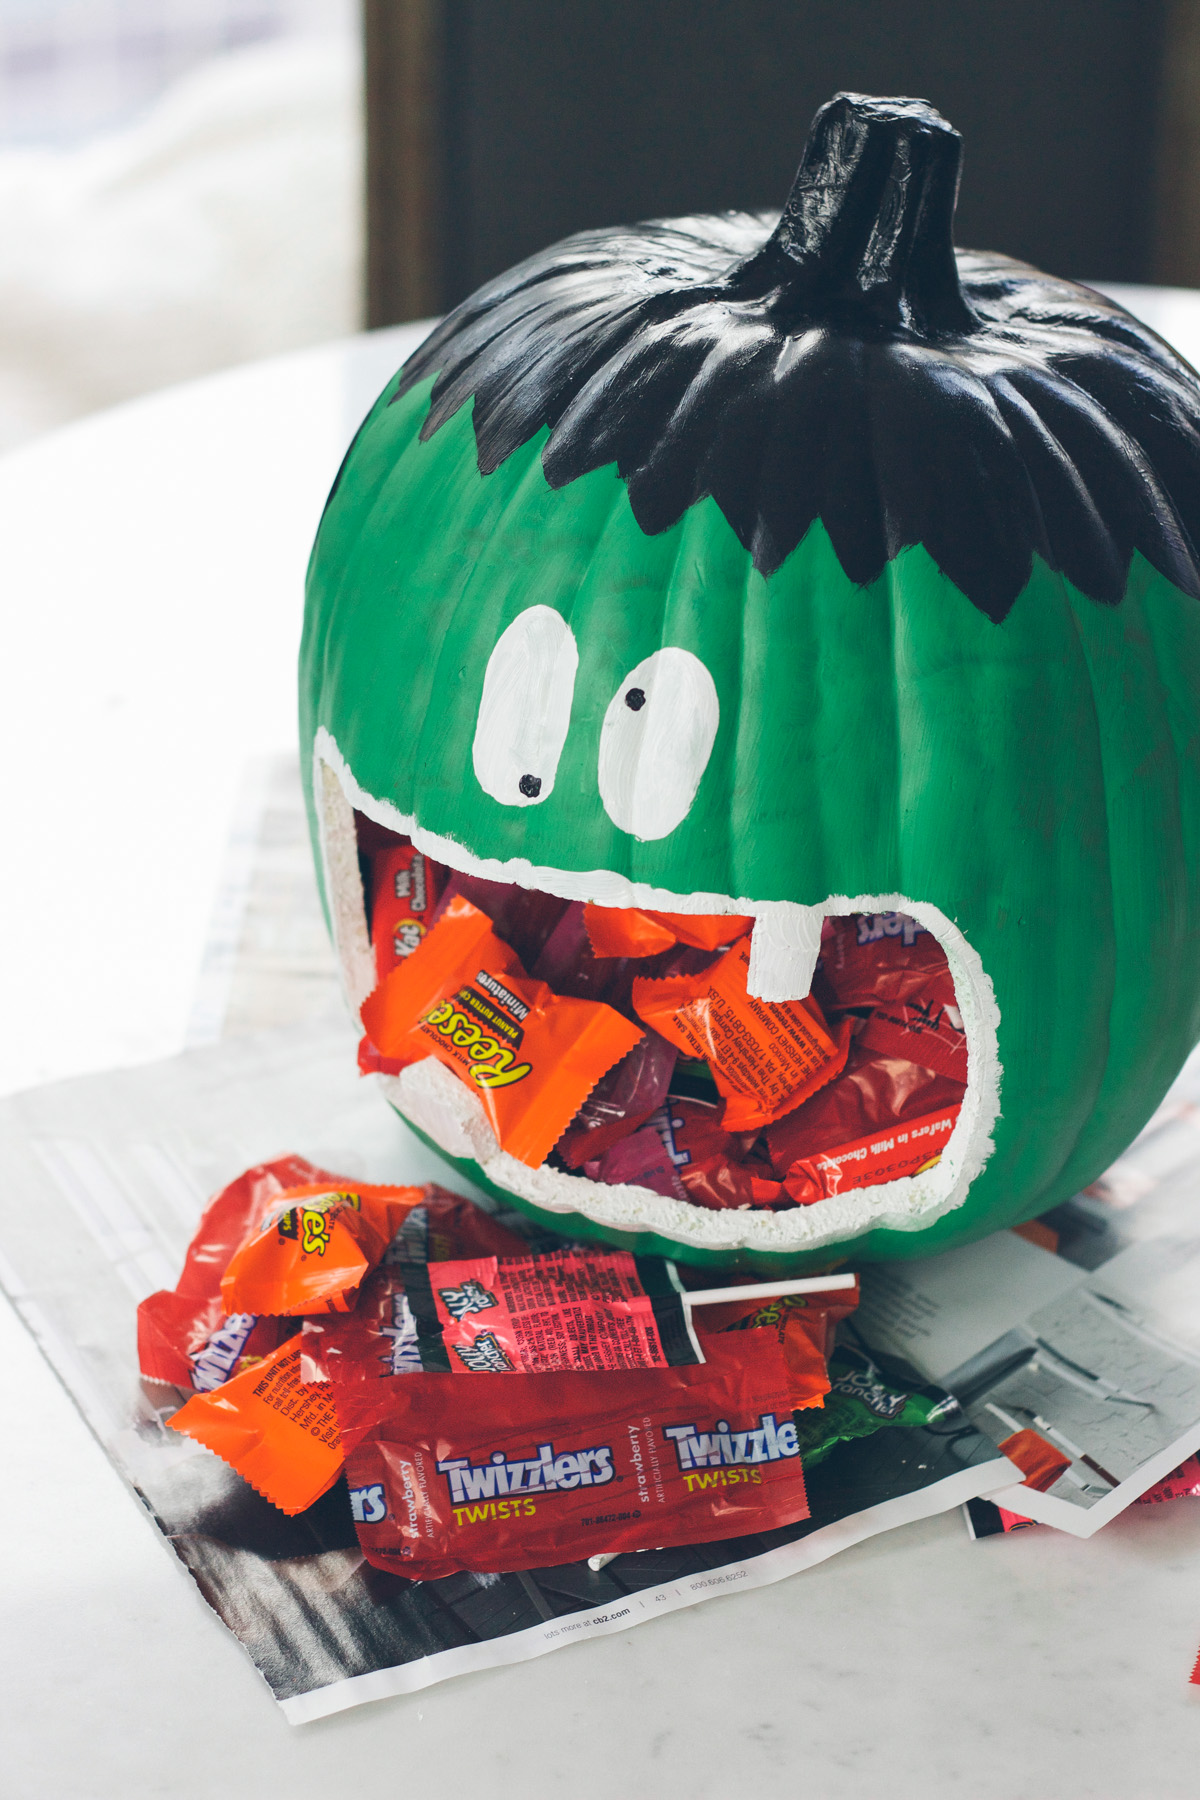
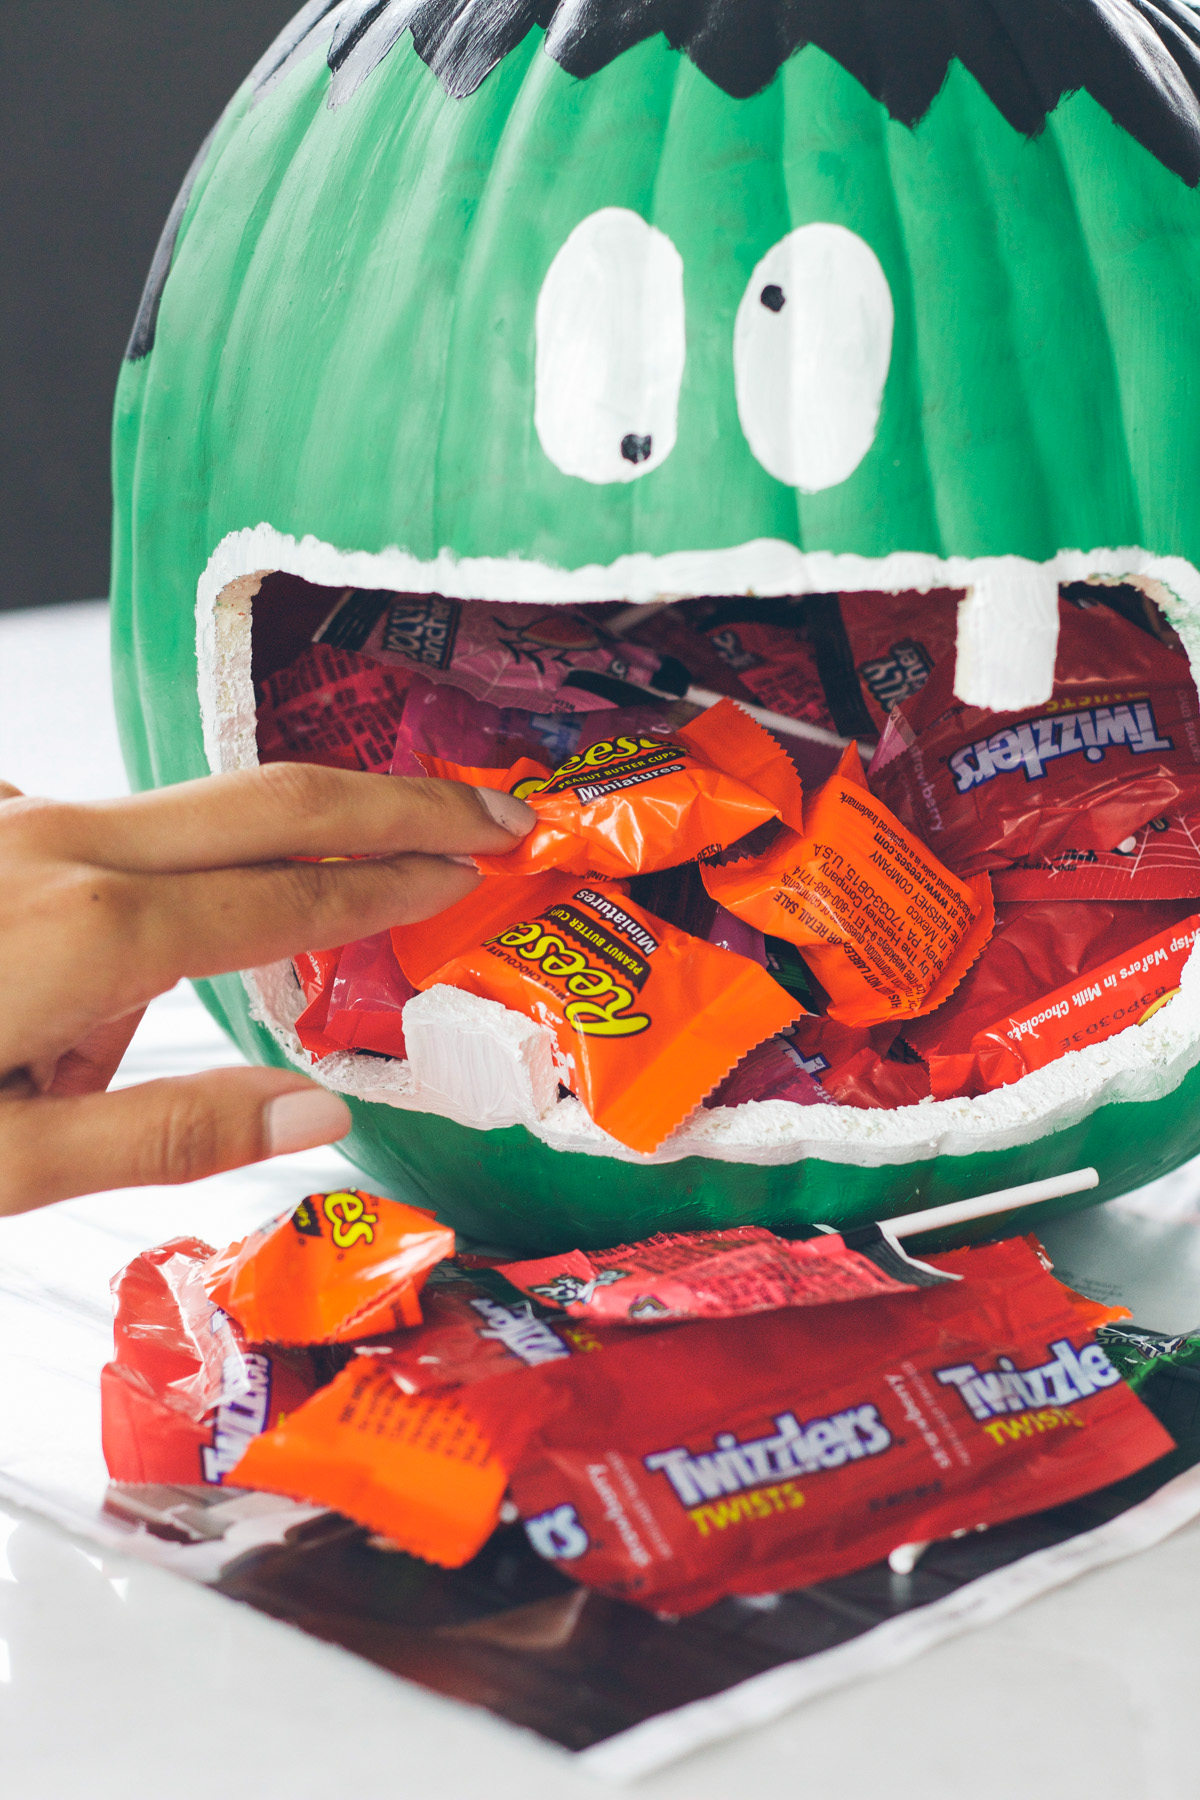
Let me know if you create one and be sure to check out all the new Hershey’s candy during Halloween and let me know what your favorite is!



SO simple! Love the pictures and how the candy fits right in Plus, I love me a great Franken-pumpkin! #client
haha right? it was so fun to make too!